A guide to adding walls and partitions to your garage remodeling project
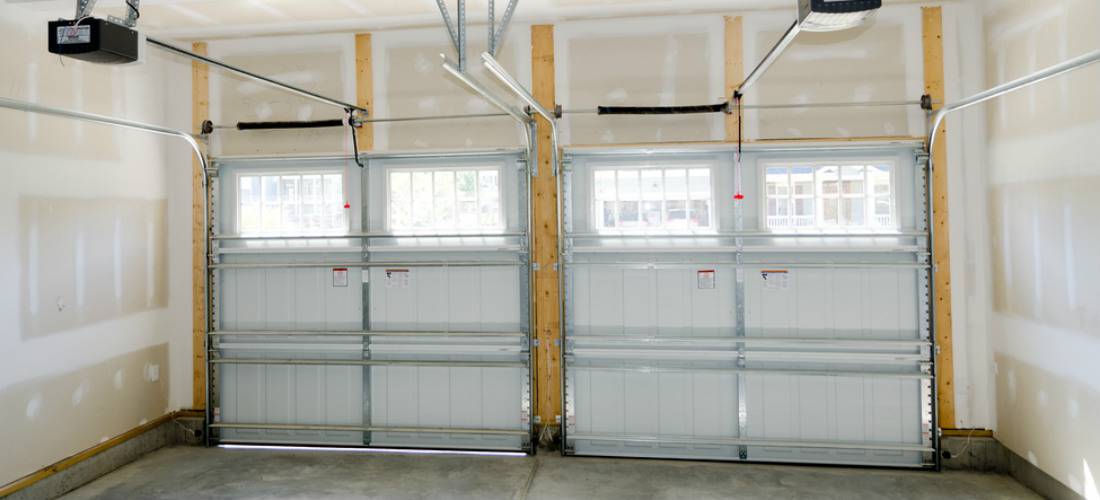
Remodeling a garage is often an easy solution when you need additional living space in your home or you simply want to utilize the space in your garage for a different purpose. In a garage remodel, walls are one of the most important design elements you will encounter. Prior to embarking on this type of residential remodeling project, it is important to give careful consideration to a few primary areas in order to achieve maximum benefit. As is the case with all residential renovations, the most important aspect of constructing partitions in converted garages is the planning phase.

Researching renovation designs in advance can assist you in developing a clearer idea of how the space will look like when it is completed and what materials are needed for the project. The type of material you use for building walls and partitions in your garage will ultimately depend on the look you want to achieve. One of the most popular options is drywall sheeting. Keep in mind that if you do opt for drywall, you will also need to tape and mud all of the seams. In addition, you will need to properly sand the walls before applying any type of finish.
Prior to finishing the interior walls of your converted garage, you will first need to build them.
Tools you will need include:
- Tape measure
- Drill with masonry bit
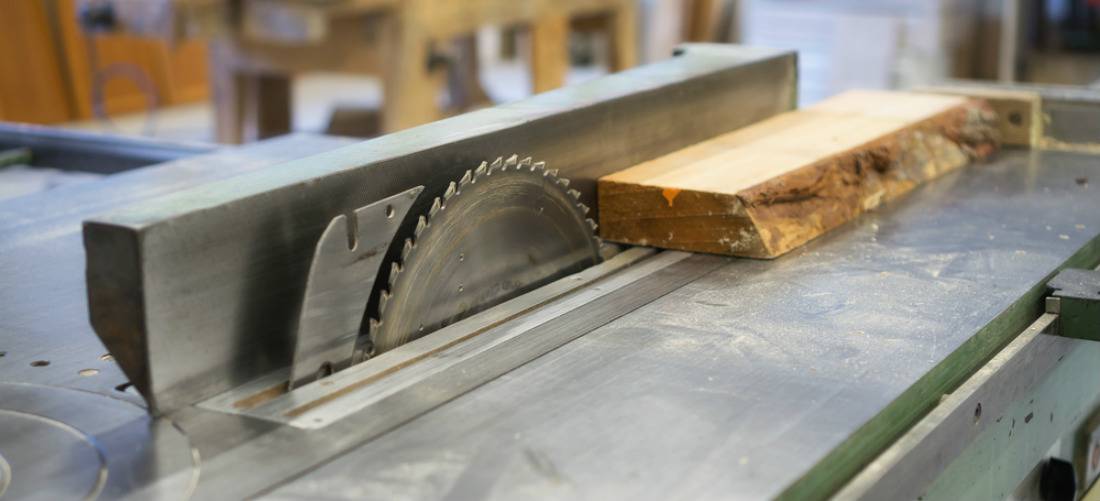
- Table saw
- Stud finder
The first step is to measure the length and the height of the desired wall. When planning the framing for the interior walls, keep in mind that studs will also need to be placed along every 16 inches of the partition you are building. To determine the number of studs you need, take the length of the wall and divide it by 16. Depending on the way in which your garage was built, you may be able to attach the box formation of your partition to the ceiling of your garage. A stud finder can be used to locate the studs in the ceiling of your garage, if they are present. If there are not any studs present, you will need to construct a crossbar that will serve as support for your newly constructed wall and nail it to the ceiling of the garage.

The frame of the wall can then be attached either directly to the ceiling of the garage or to the crossbar. You can then use the masonry bit to drill through the concrete in the floor of the garage in order to anchor down the frame. To ensure safety, this should be done approximately every two feet.
If you do not feel confident in regards to your carpentry skills, consulting with an experienced contractor could be a good solution. QualitySmith can assist by providing you with tips and information on hiring the most skilled contractor for building partitions in your garage. Given their importance to a garage remodel, walls should be precisely planned. Doing so can help you maximize the return on your renovation and investment and enjoy your new space for many years to come.


Write a Comment