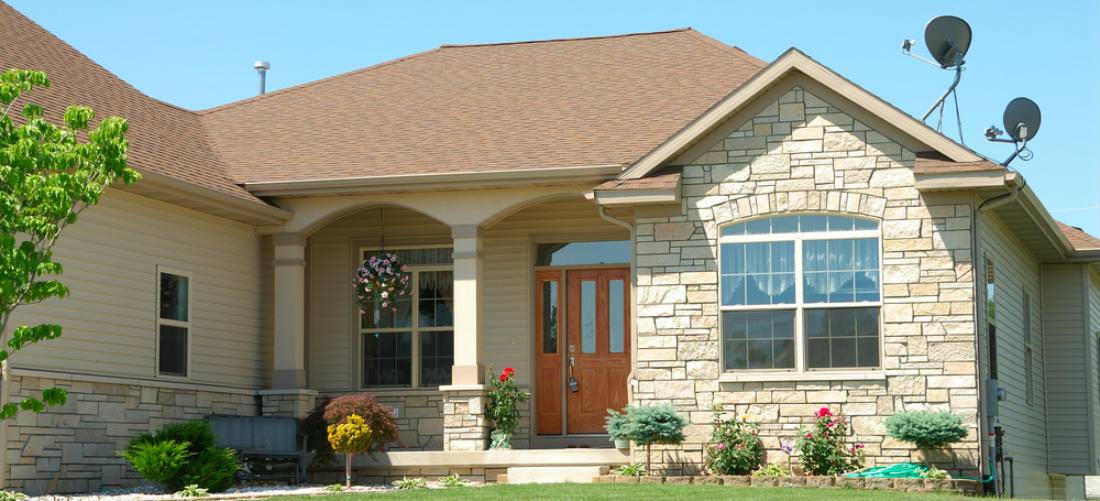
A step-by-step guide to installing stone siding on your house
Stone siding is a building material that simulates the appearance of solid stone construction but at a cheaper price. In order to properly install stone siding, the material must be glued to the side of the house. This protects the home from moisture, while at the same time creating an attractive appearance that often raises the curbside appeal of the structure. Installation is normally done by a professional stone siding contractor, but it is useful for the homeowner to know the process as that knowledge will provide an insight into the stone siding costs.

Install stone siding
Before placing the siding, all surfaces to receive it must be cleaned. Old siding or coverage material is stripped away to reveal the actual plywood covering or brick structure of the property. If the structure is plywood, it must be covered with a weather-resistant barrier to prevent moisture from seeping beneath the siding and into the structure of the home itself; homes with a brick structure do not require this barrier layer. An expanded galvanized metal lath with a diamond mesh design is placed on this barrier.
The lath covers the entire surface where the siding will be placed and forms an anchor structure for the mortar. When installing over a surface that is composed of untreated or unsealed brick or masonry, the siding can be laid directly in place, though a lath is recommended. Treated or sealed surfaces must be scoured clear.
 You can install the siding with a grouted joint look or an ungrouted joint look. You'll need a specific mortar mix for either type, the instructions for which should be contained in the siding instructions themselves. All mortar can be created with Portland cement, masonry sand and a thinset mortar. Before you mix your mortar, you should do a dry run with your siding, placing it where desired on the wall to mark the positions for individual pieces. This will ensure that you end up with the desired look.
Begin your first line of siding along the ground. Mortar the pieces into place using a one-half-inch-thick layer of mortar; press the stone firmly against the lath to anchor it in place. Make certain that the top of the first stone run is even, both to prevent wavering lines and to help speed up the placement of additional stone runs. Using a grout bag to apply some mortar to the edges of adjoining stones can provide an additional weather barrier.
Work your way up row by row until the siding reaches the top of the wall. If you do grout the stones, use a finishing tool to even out the grout surface. Keep the depth of the grout consistent between stones for the best appearance. After the grout has dried slightly, you can remove any excess from the surface of the stones with a whisk broom. Allow the grout and the mortar to set; follow the set times provided in the mortar instructions.
Stone siding prices vary by manufacturer, but contractors located through the QualitySmith website can give you stone siding estimates that include materials and labor. While you can take a DIY approach and install stone siding yourself, a professional contractor will do the work faster and you can be sure the work will comply with all local building codes.


Write a Comment